
Building a Padel Court in Israel: A Photo Case Study
Follow six stages of padel court construction through real installation photos from Azur, Beer-Sheva and Saar, with IPG Distribution.
A photographic case study from IPG’s installation archives in Azur, Beer-Sheva and Saar. Follow the construction of a padel court through real site photographs, from the supporting base to the playing surface.
The photographs illustrate the process across three projects, with the location identified in every caption.
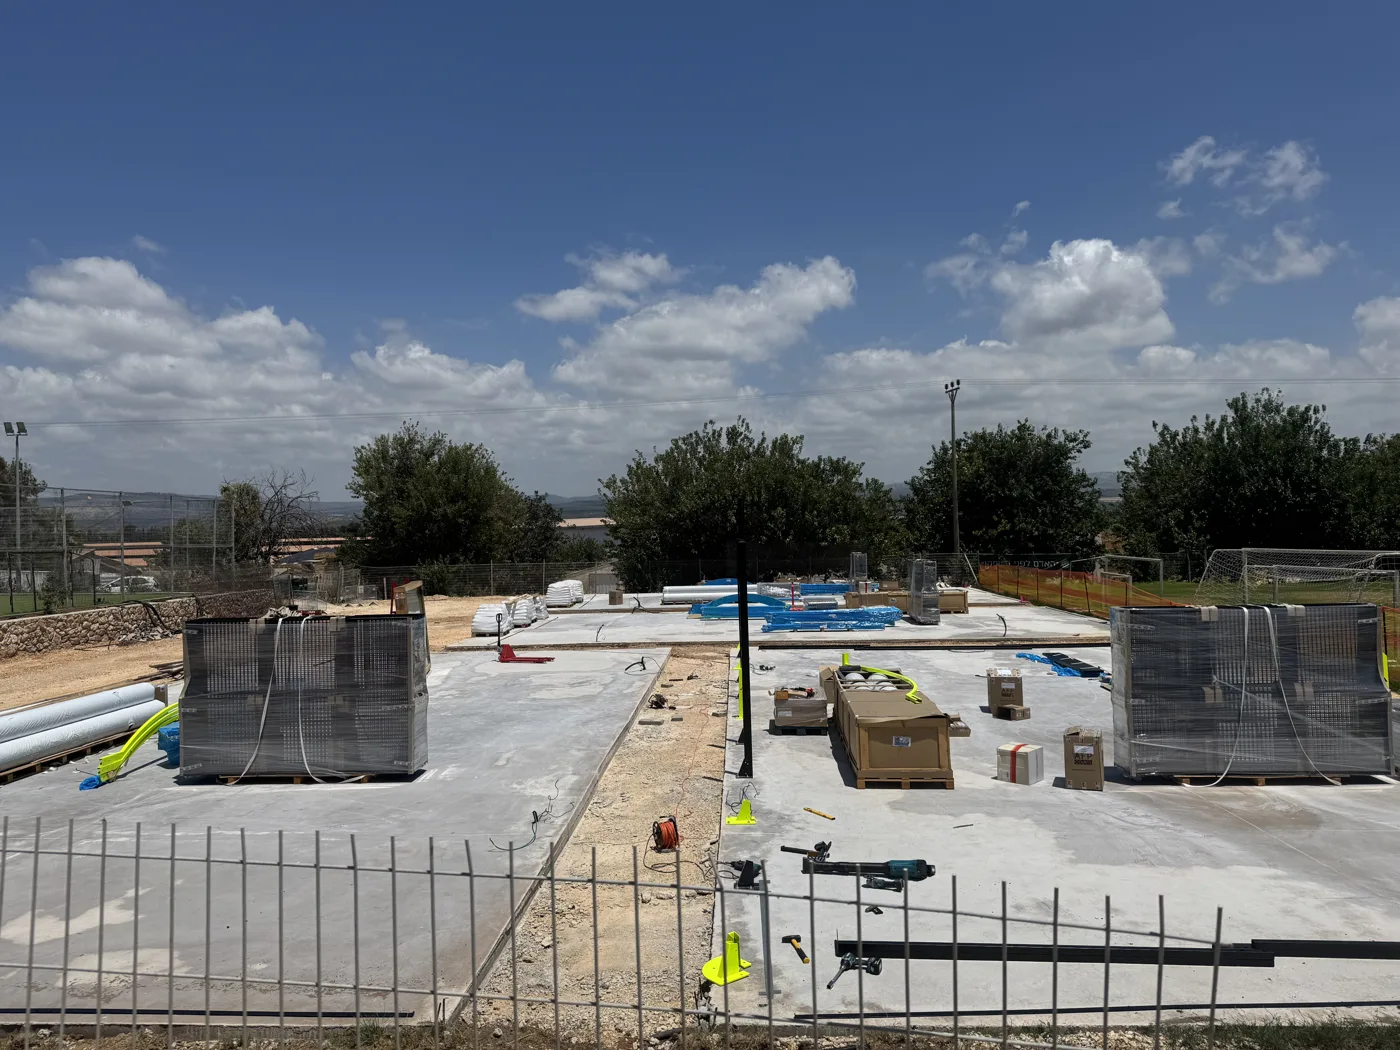
01. Site & support
Every court starts with the site: access for delivery, a suitable supporting base, drainage and routes for electricity. These requirements need to be resolved before the court structure arrives.
02. Set out & anchor
The installation team positions and fixes the court components to the supporting base. Anchor selection and installation must follow the court supplier’s specifications and the approved project design.

03. Assemble the structure
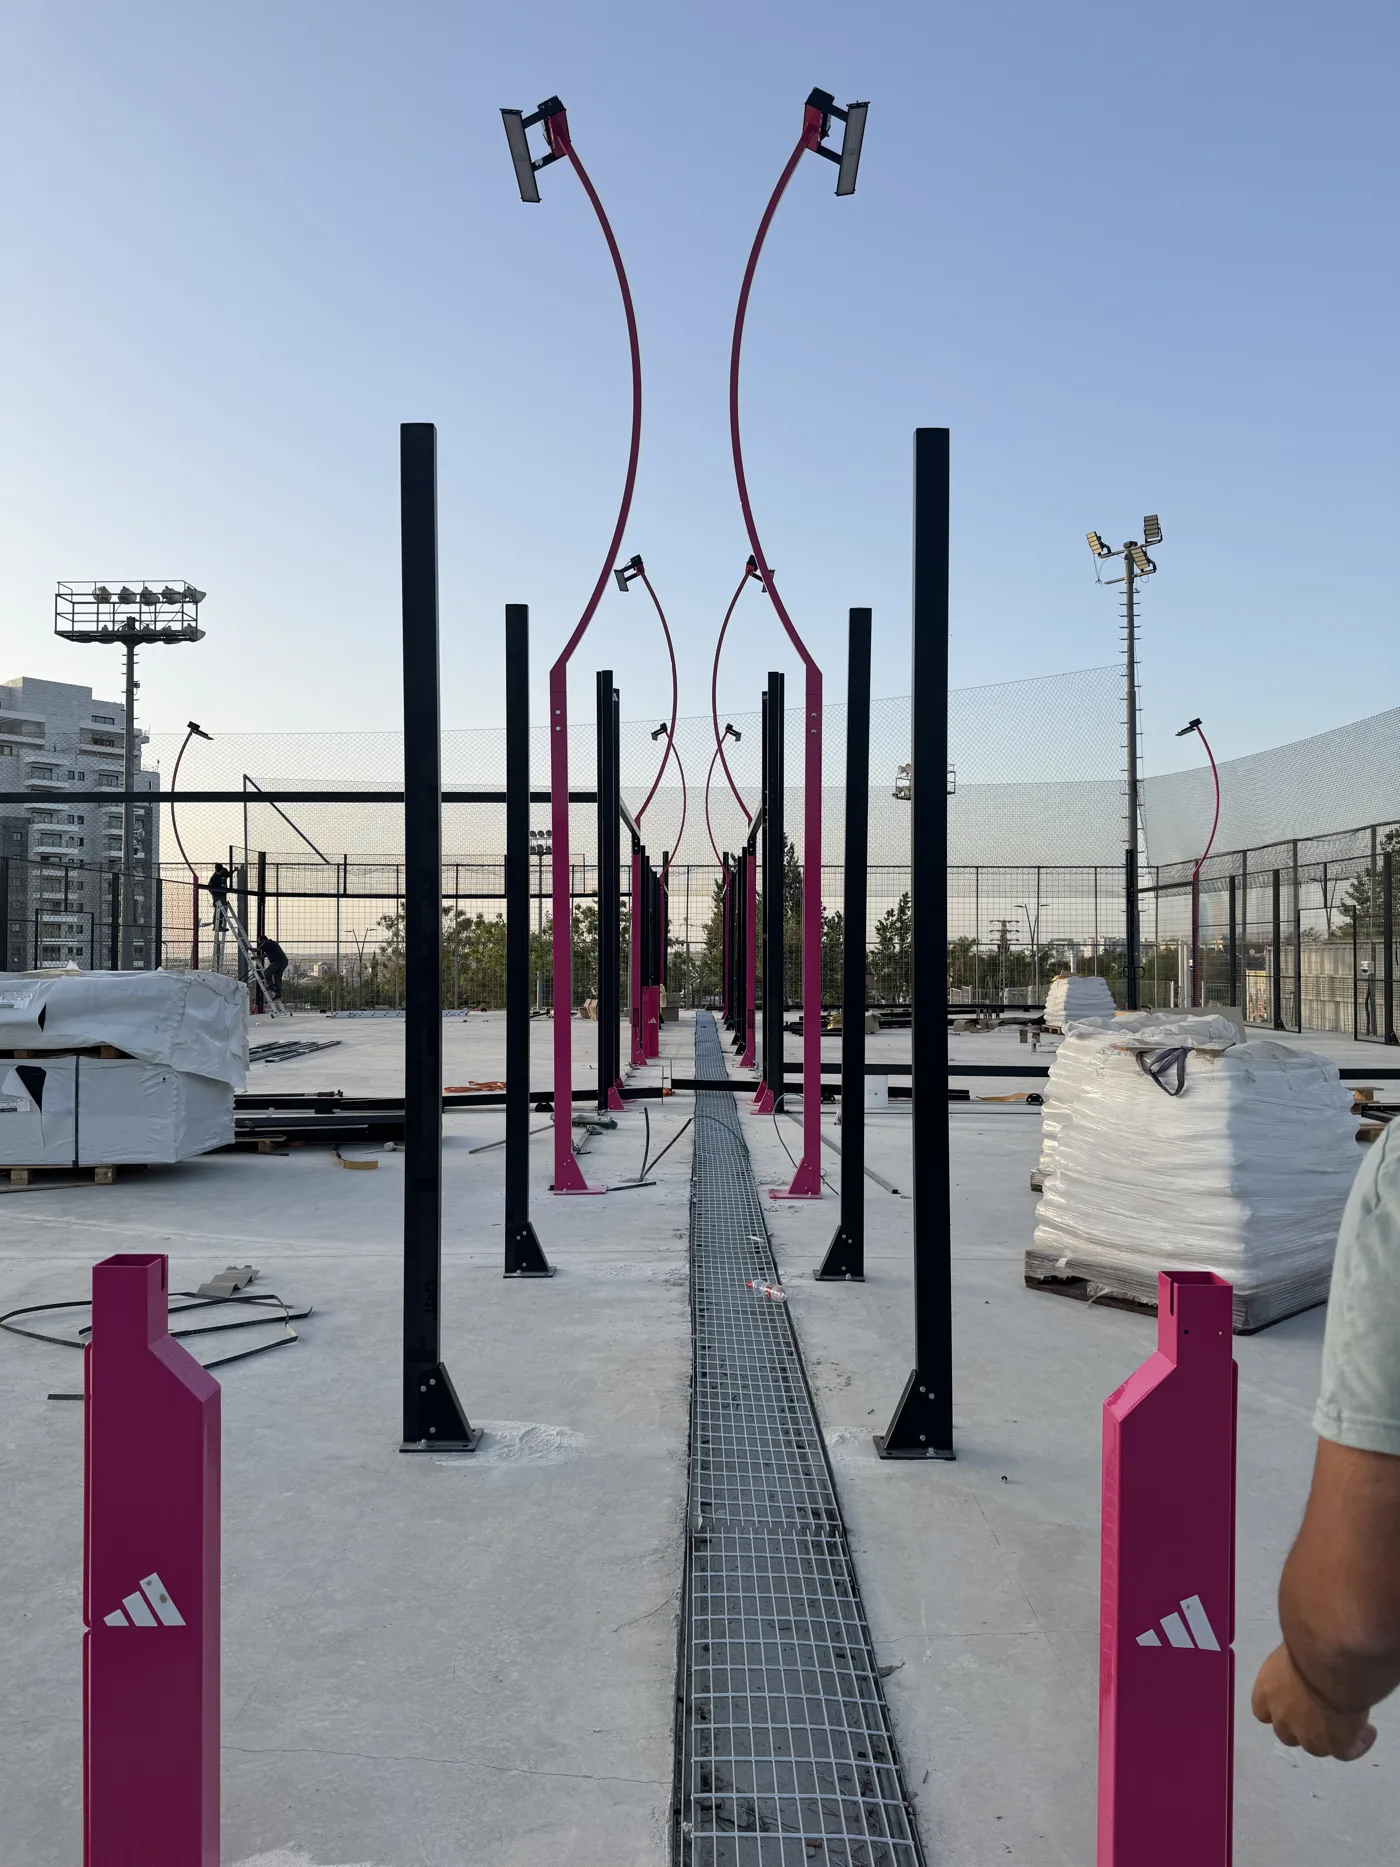
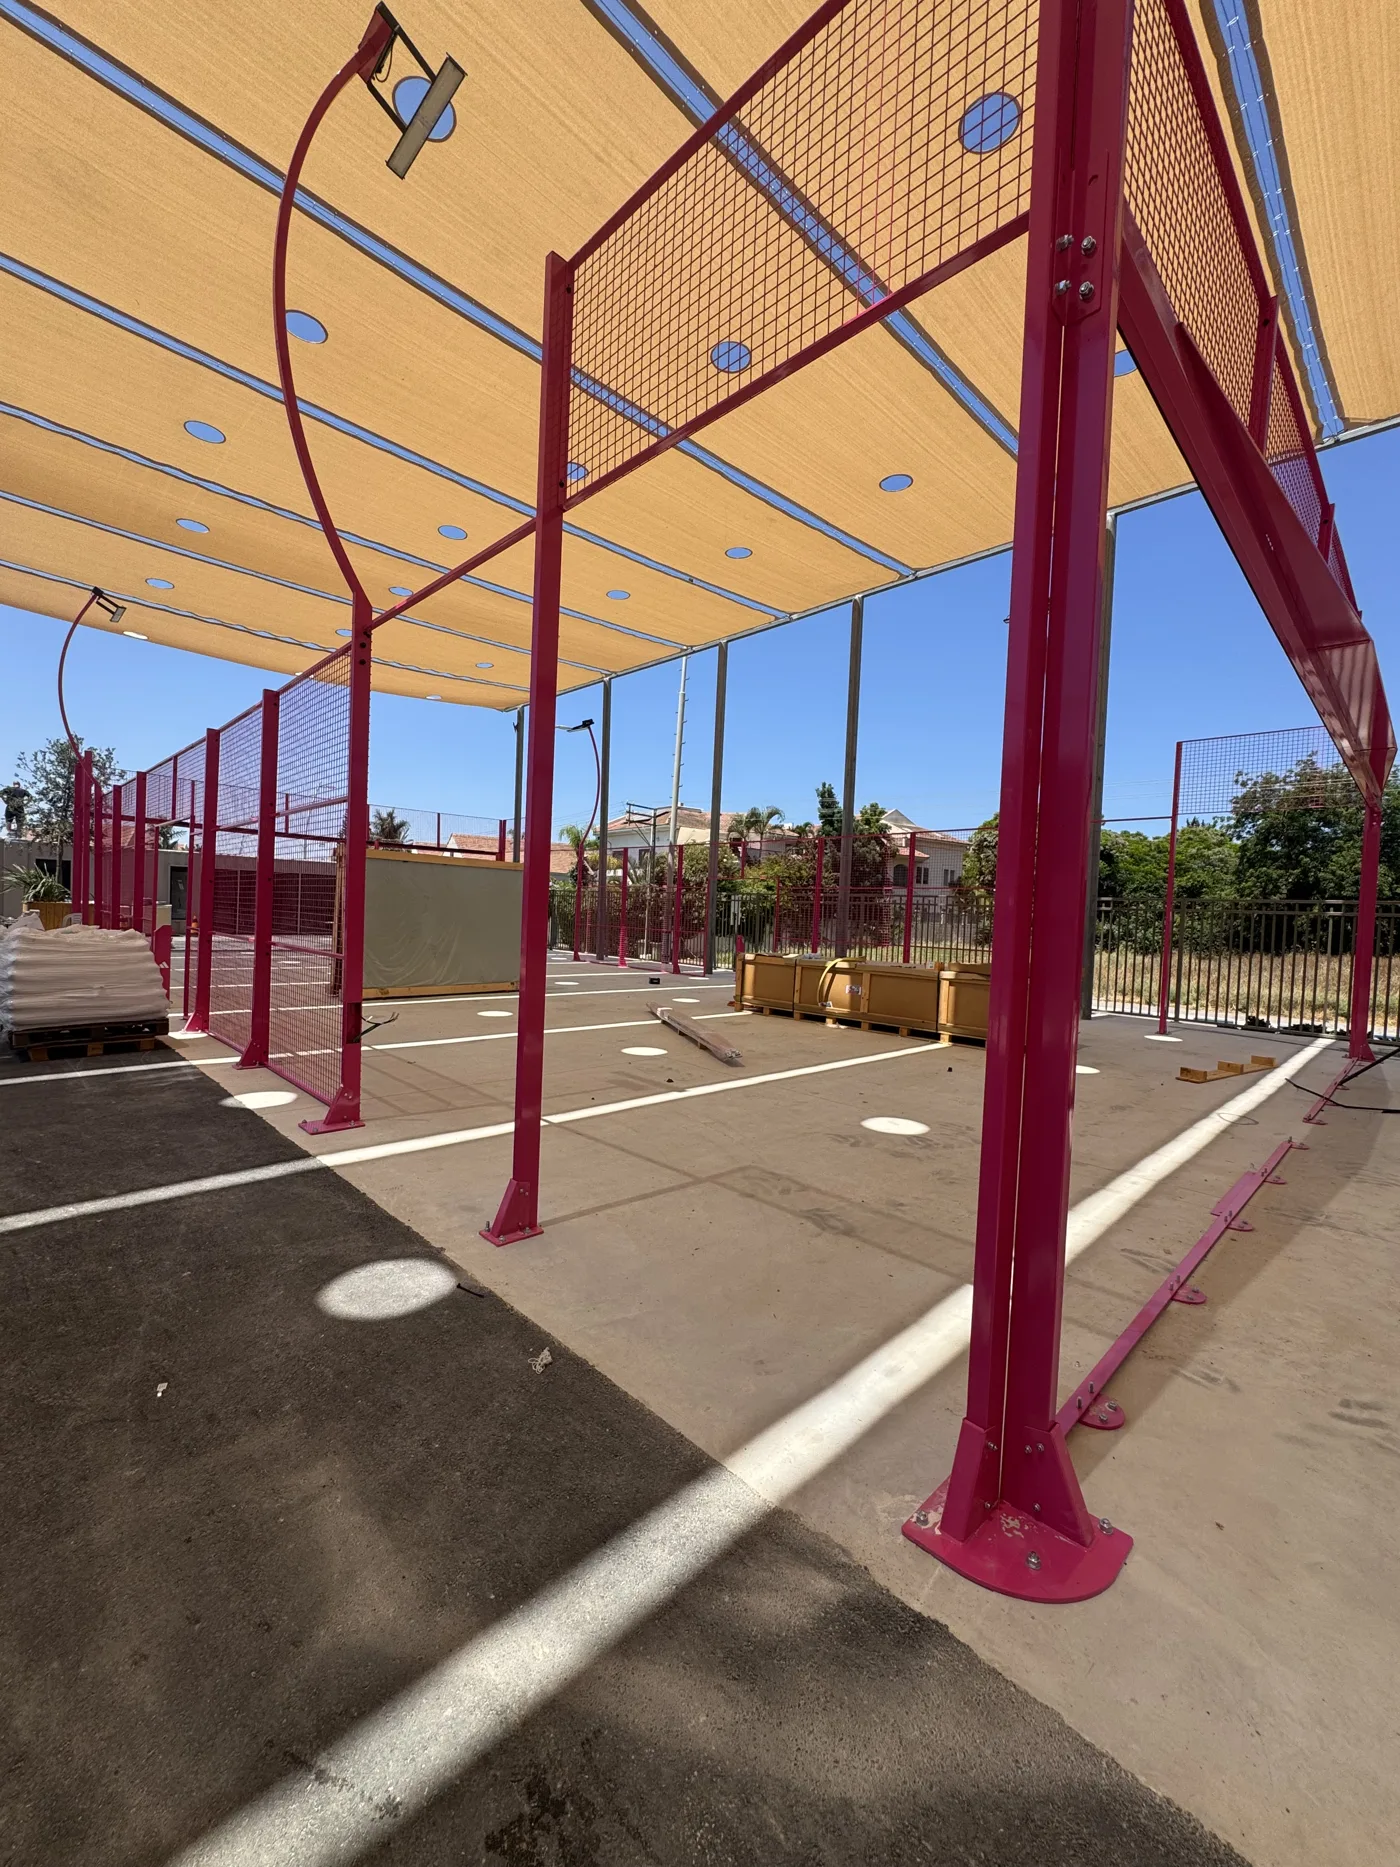
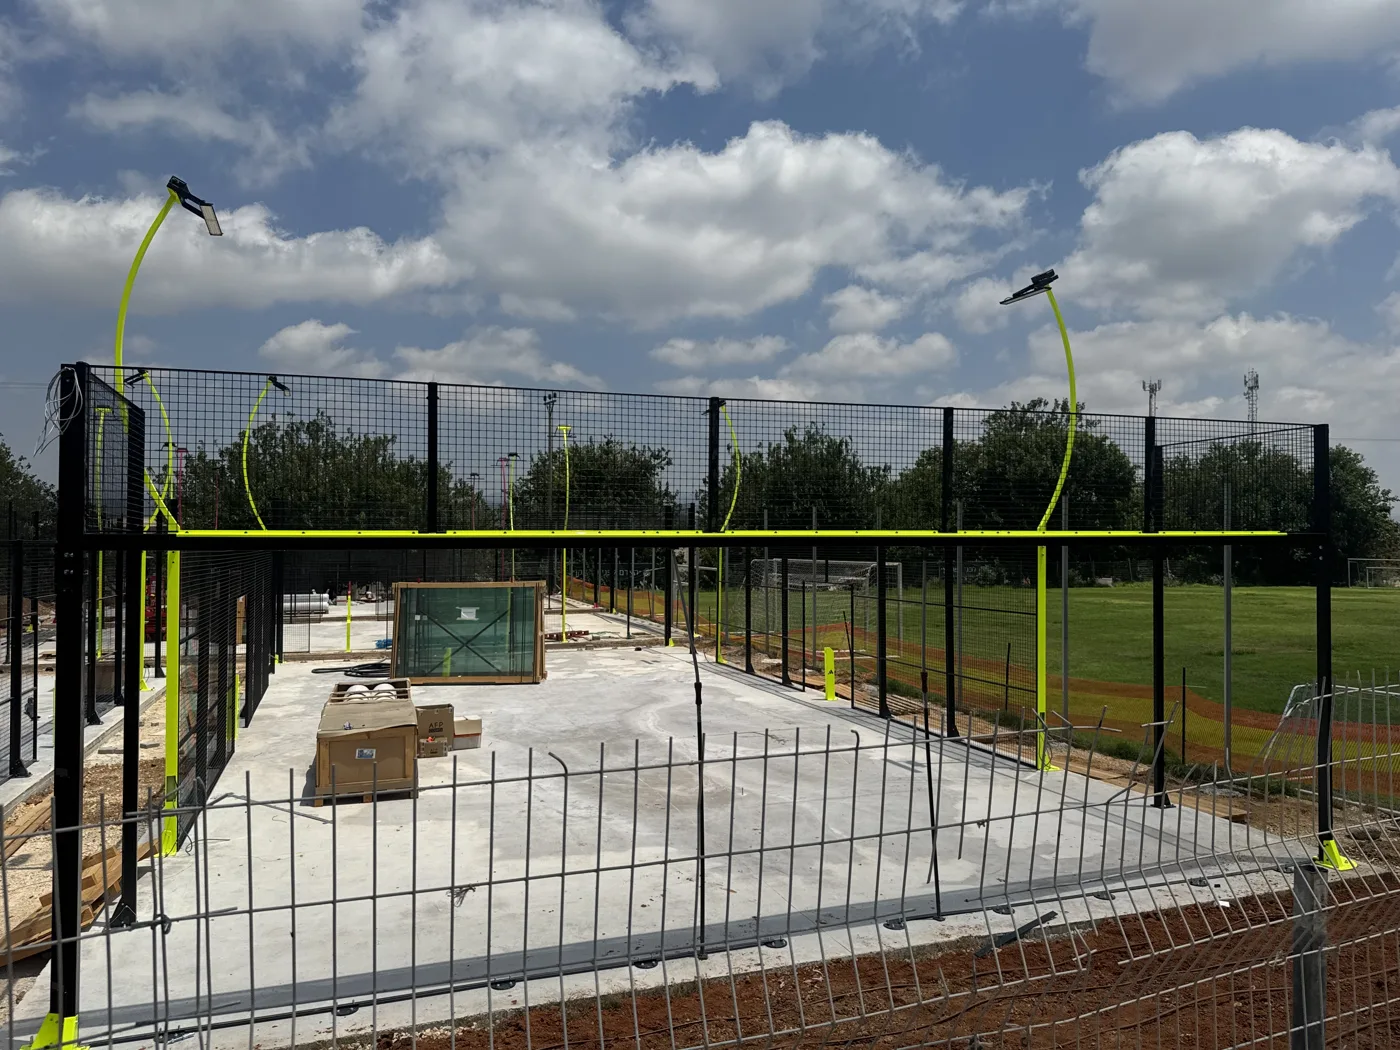
Upright posts, frame sections and mesh panels define the enclosure. Alignment, fixings and the interfaces with the surrounding site are checked as assembly progresses.
04. Fit the glass & enclosure
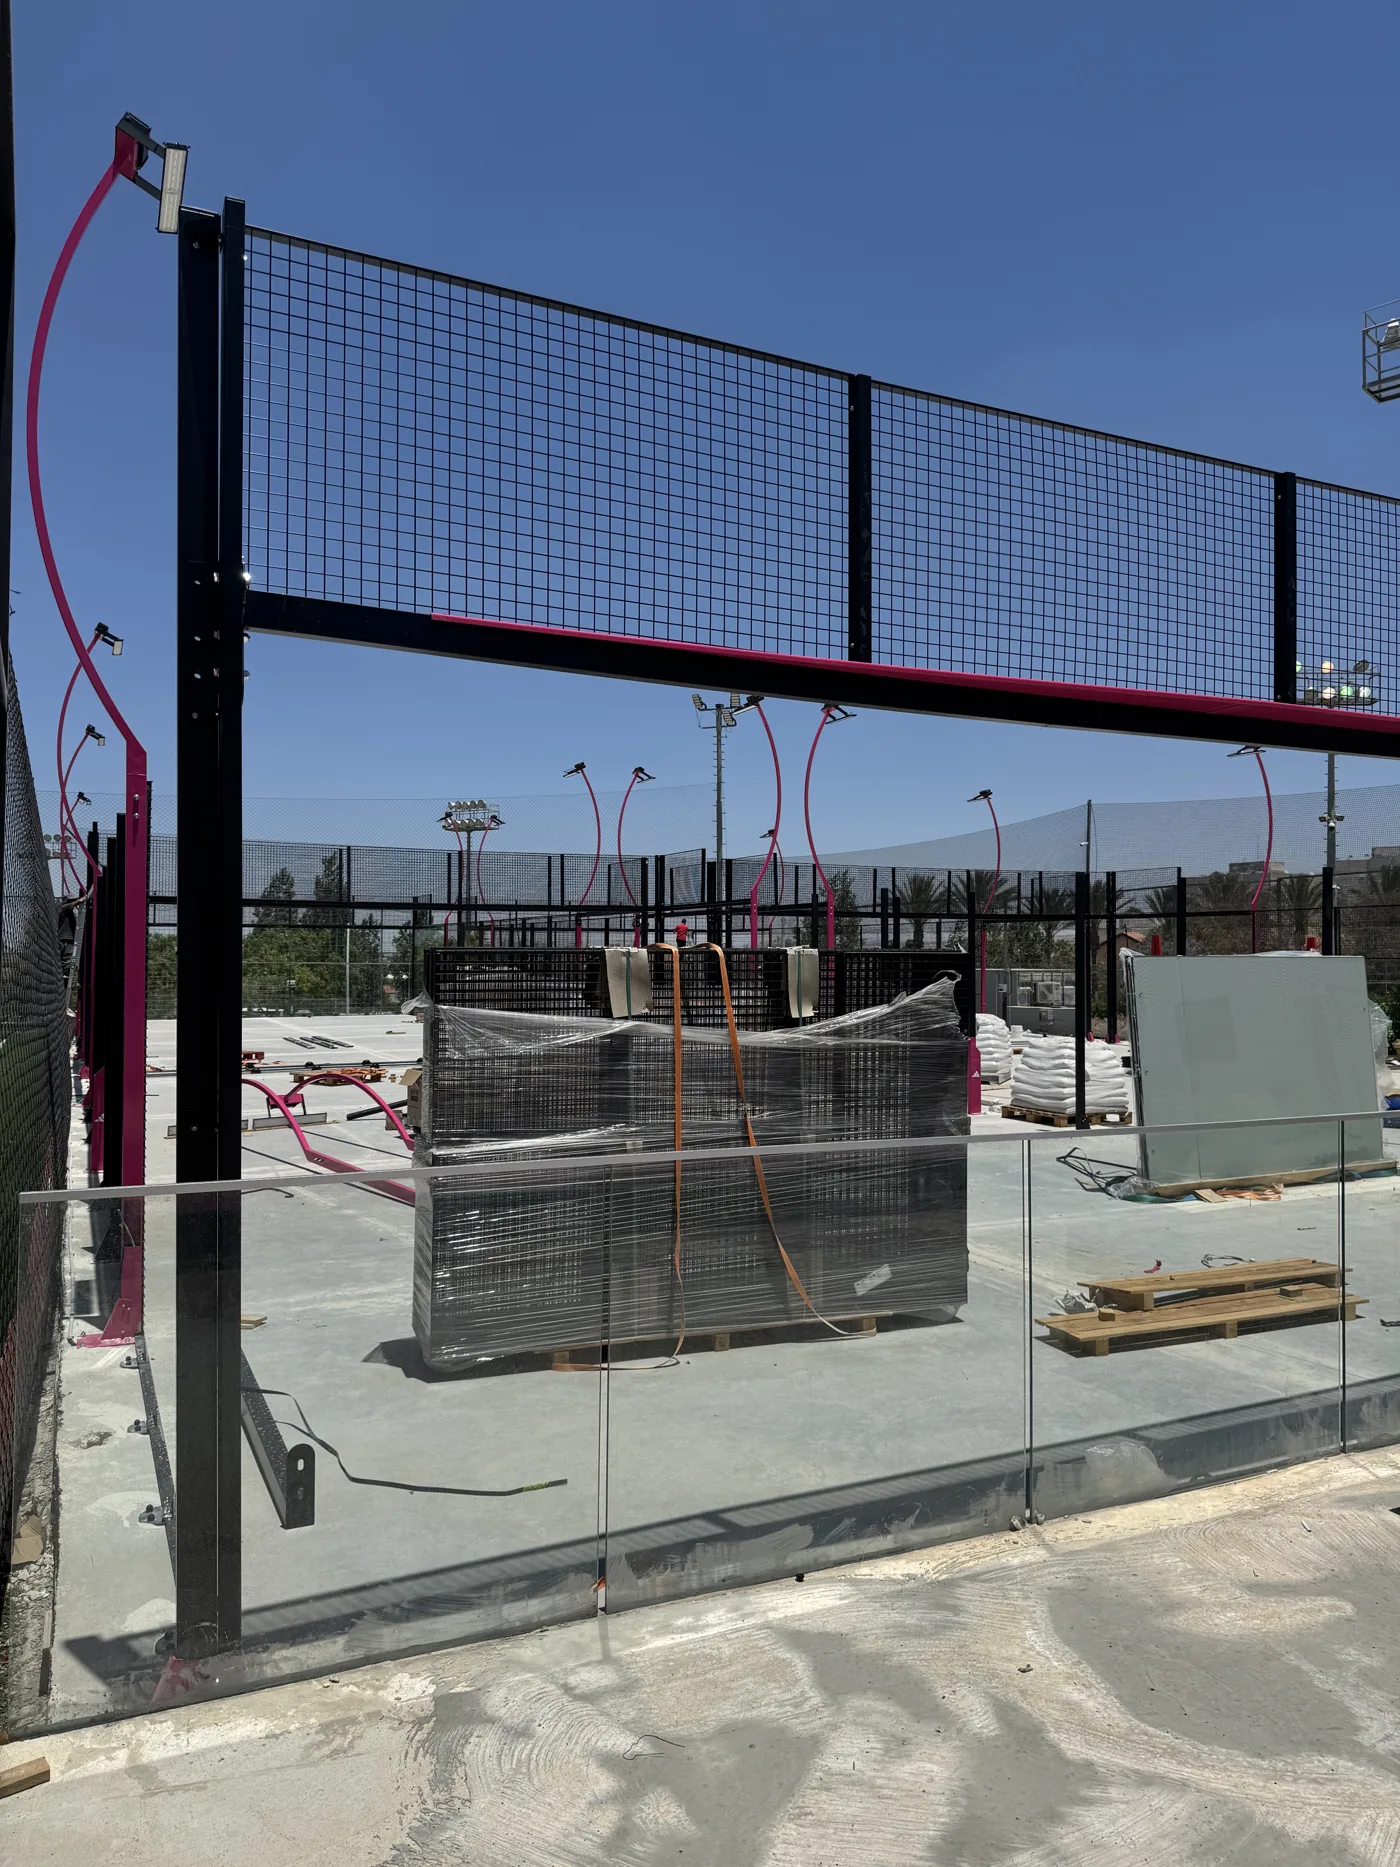
Glass panels complete the playing enclosure alongside the mesh. Handling, supports, panel alignment and connections require careful installation according to the specified court system.
05. Lighting & site integration
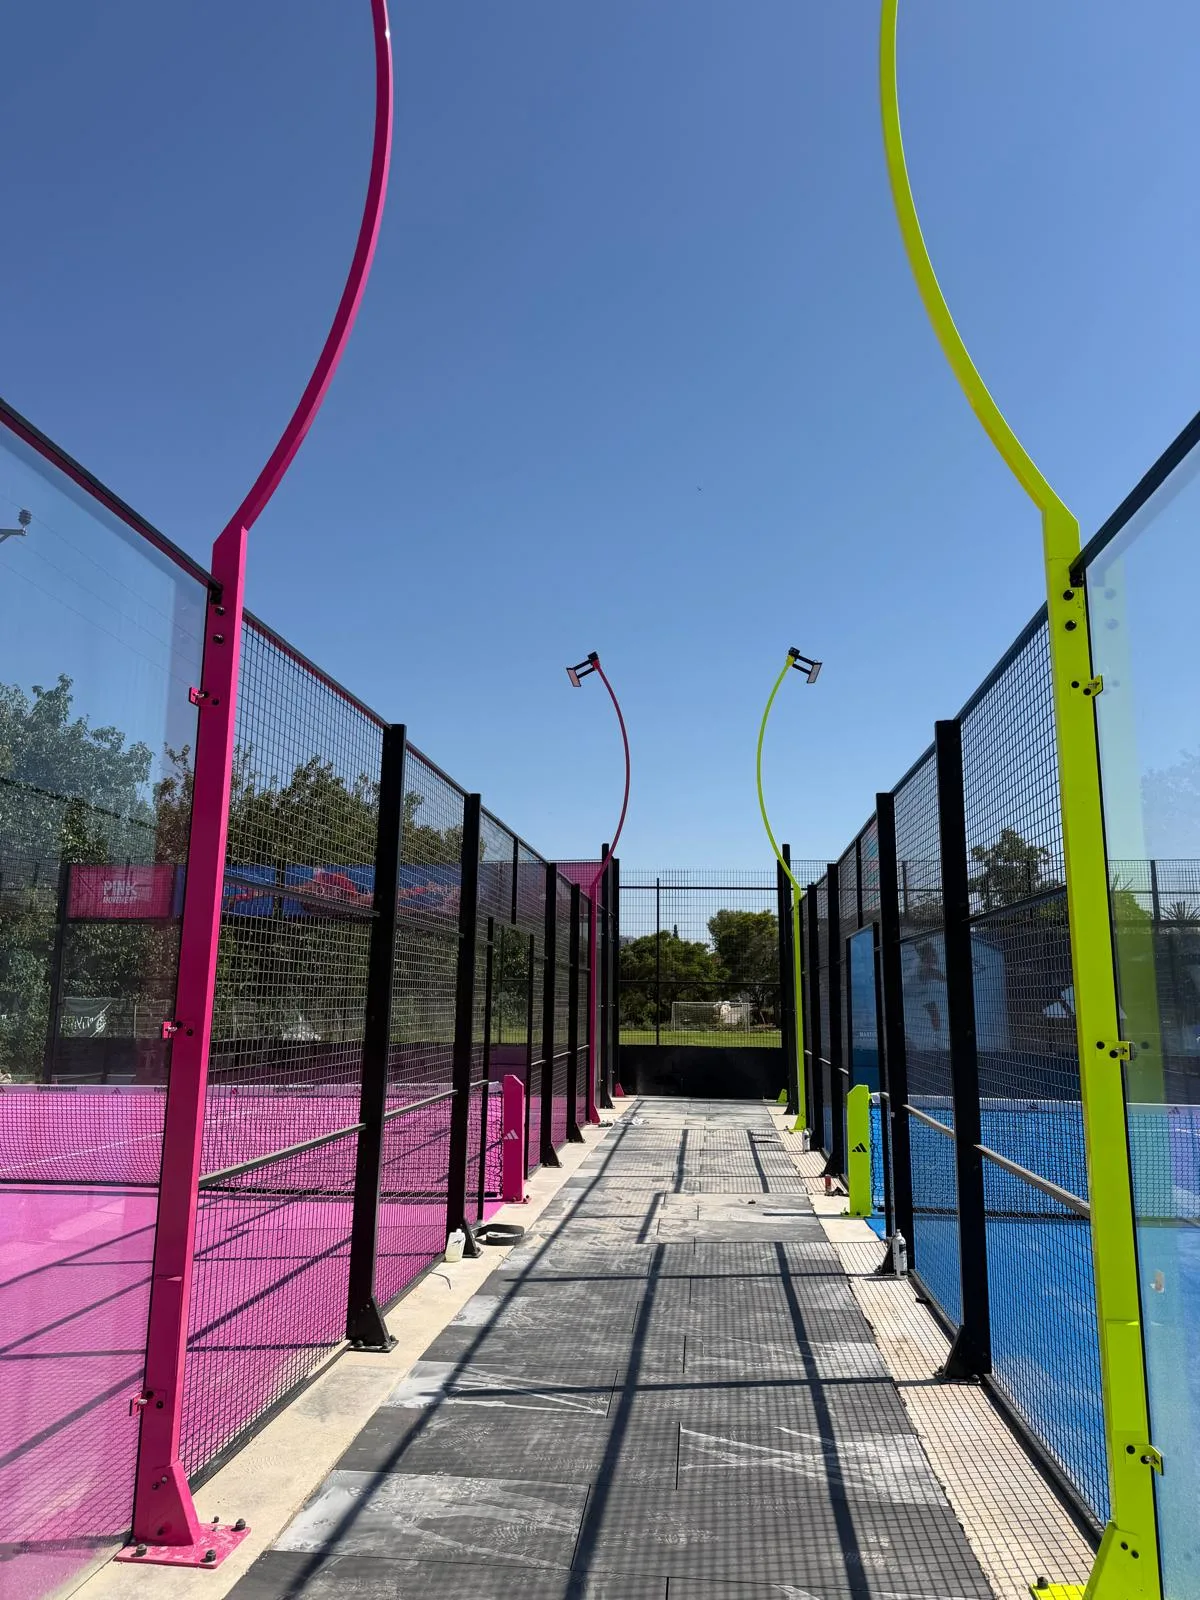
Lighting supports and fixtures are integrated with the court. Electrical connections and checks are coordinated with qualified professionals; surrounding circulation and access also need to be considered.
06. Lay the playing surface
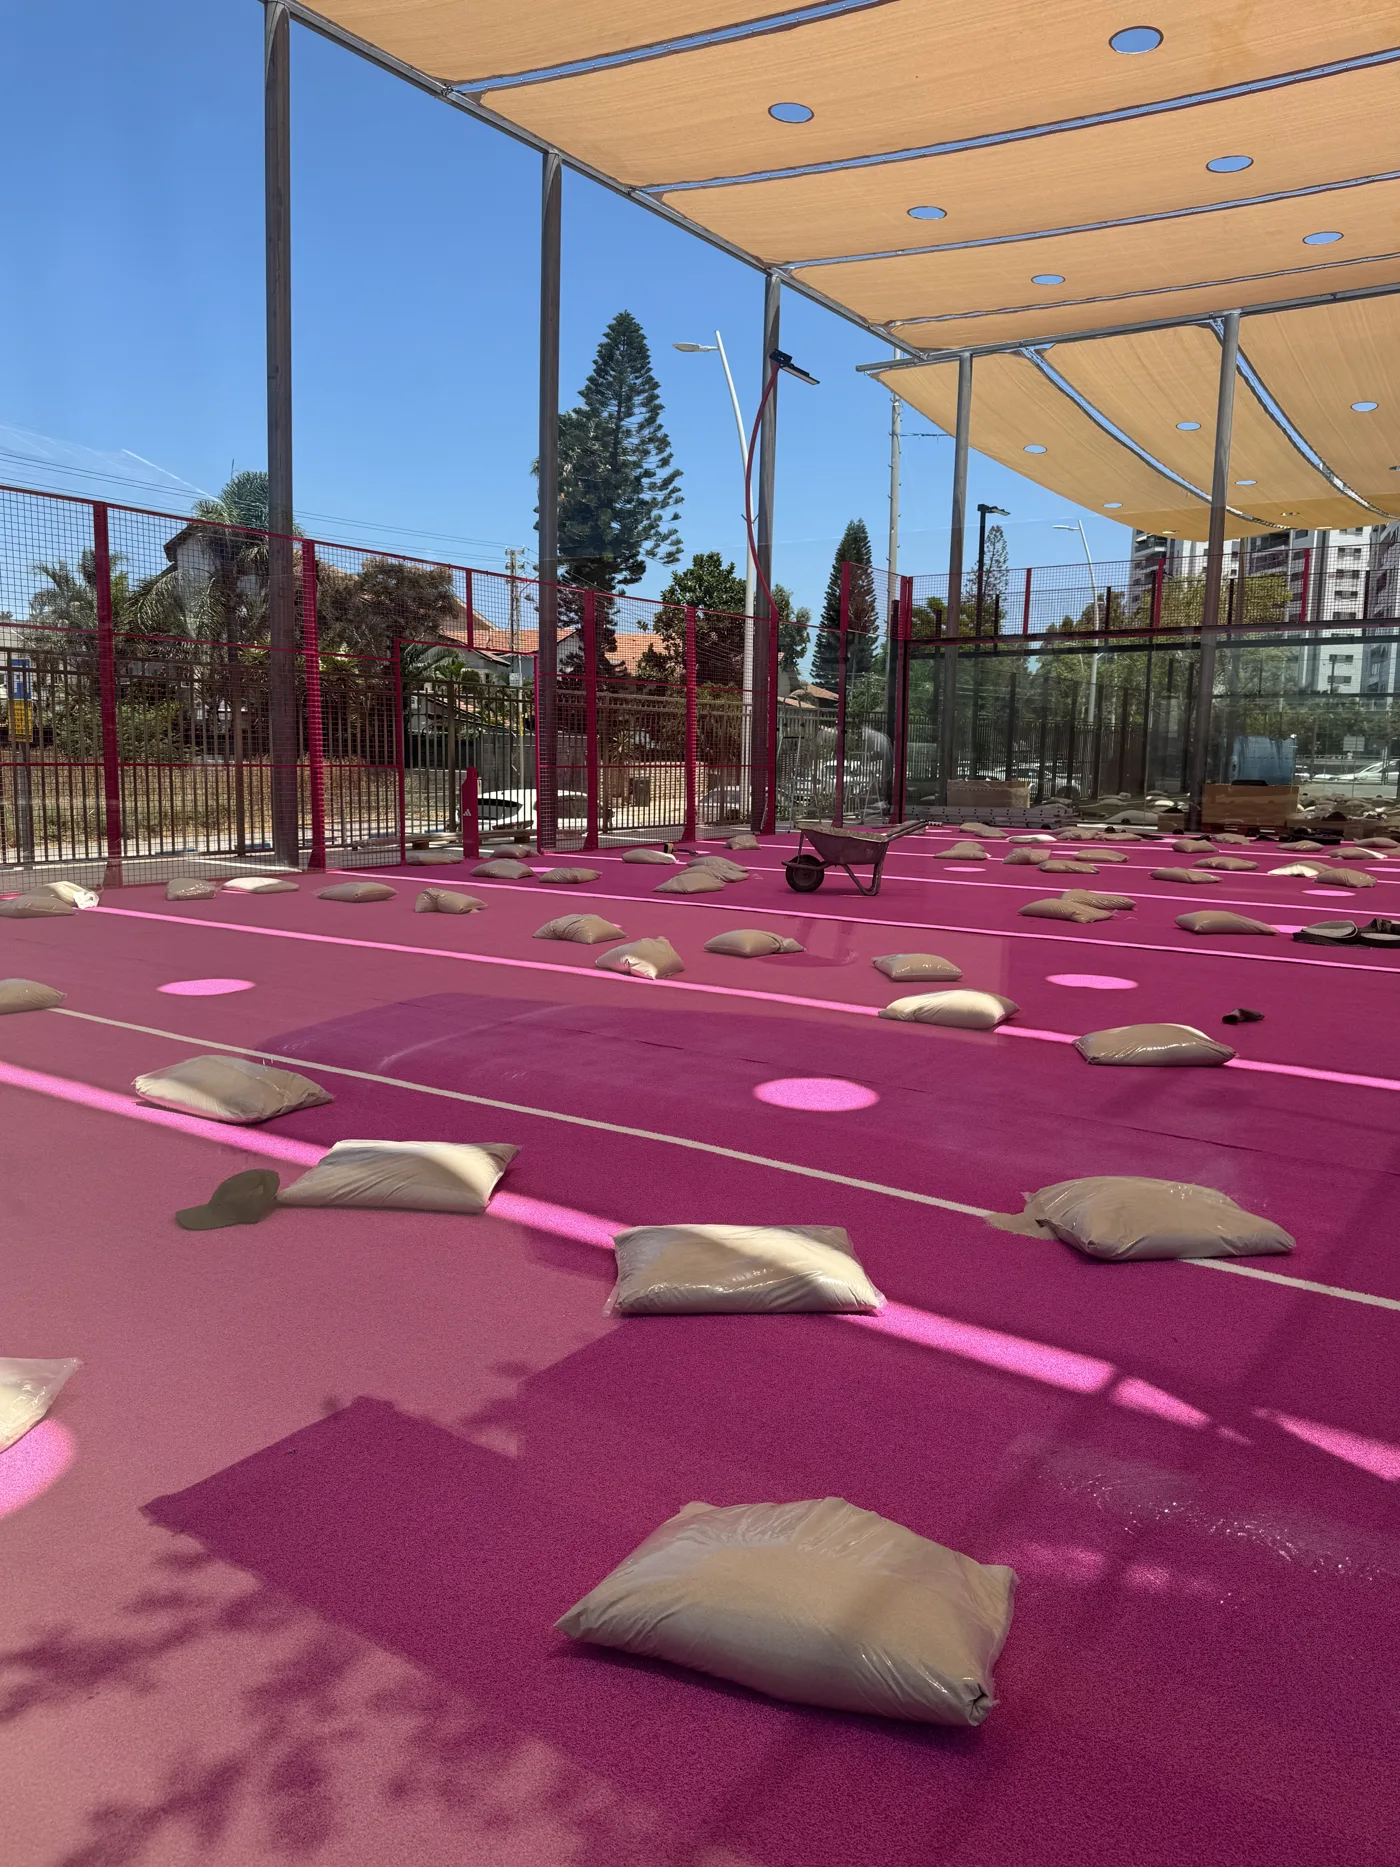
The turf is laid, joined and finished for the selected surface system. Lines and infill, where specified, are part of this stage. The photographs show different points in this process.
Before the first game
The final stage is a project-specific inspection: fixings, glass, access, playing surface, net and lighting. A maintenance plan should be agreed before opening.
Explore the IPG project gallery
Plan a padel court installation in Israel · Court maintenance
Discuss your padel project with IPG